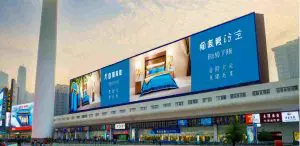
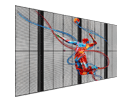
In Today’s World, LED Walls Steal the Show
From concerts and conferences to retail windows and sports arenas, LED walls dominate the visual experience. But what makes an LED wall truly stand out is not just the display itself—it’s the way it’s configured. If you want brilliant colors, smooth motion, and dynamic content that grabs attention, proper configuration is absolutely essential. This article walks you through every important detail of how to configure an LED wall—from hardware selection and software setup to content optimization and troubleshooting.
1. Choosing the Right LED Wall Components
1.1 Pixel Pitch and Viewing Distance
Pixel pitch, the distance between two adjacent LEDs, plays a critical role in clarity. A smaller pitch (like 1.2 mm) gives you sharper images up close—perfect for indoor use. Larger pitch (5 mm or more) is better suited for outdoor use where viewers are far away.
1.2 Module Quality and Refresh Rate
High refresh rates (ideally 3840Hz and above) ensure flicker-free performance, which is especially crucial for video production or live streaming. High-grade LED brands and IC drivers will give you a more stable and consistent output.
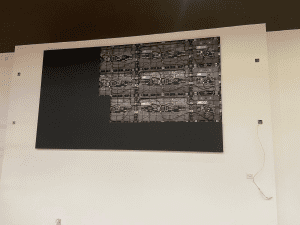
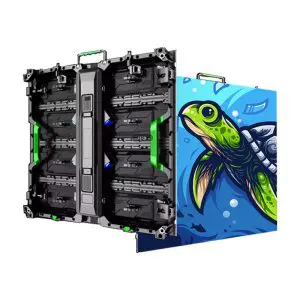
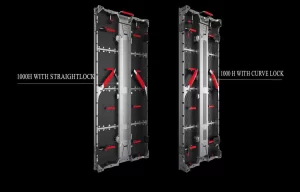
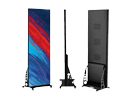
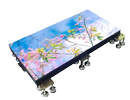
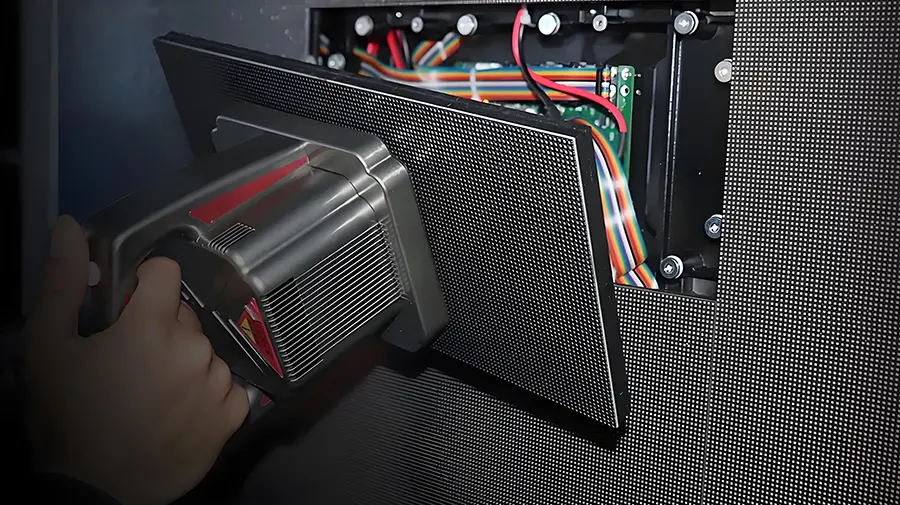
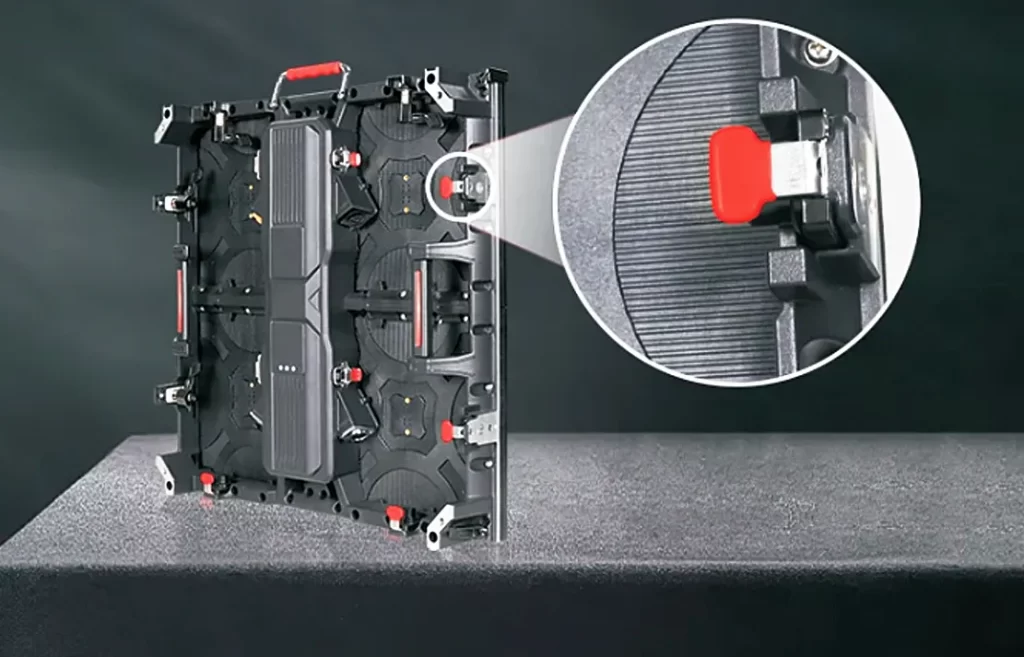
1.3 Cabinets and Structural Design
LED modules are housed in cabinets, which form the overall structure of the wall. Whether you’re using 500×500 mm or 1000×1000 mm panels, ease of maintenance and alignment accuracy are key. Choose cabinets that allow quick access for repairs and upgrades.
1.4 Power and Signal Systems
Make sure power supplies are adequate for the total load. Use flat cables and organize wiring cleanly to avoid heat build-up. Signal transmission should be stable, using CAT6 or optical fiber for longer distances.
LED Wall Configuration Essentials – Quick Comparison Table
| Component/Aspect | Description | Key Considerations |
| Pixel Pitch | Distance between LEDs (in mm) | Smaller pitch = higher resolution for close viewing |
| Brightness (Nits) | Screen brightness | Indoor: 800–1200 nits; Outdoor: 5000+ nits |
| Controller Type | Device/software managing content & signal | NovaStar, Colorlight, Brompton are top choices |
| Power Supply | Supplies power to LED modules | Should be stable, efficient, with surge protection |
| Cooling System | Prevents overheating | Use fans or ensure passive airflow via cabinet spacing |
| Content Source | Media inputs (HDMI, DVI, SDI, etc.) | Match resolution to screen; support redundancy |
| Calibration Tool | Used to tune color & brightness consistency | Colorimeters, built-in software calibration options |
2. Planning the Installation Environment
Proper placement determines effectiveness. Keep the following in mind:
- Ensure enough support for the weight of the wall.
- Maintain a gap of at least 5–10 cm behind for air circulation.
- Use outdoor-rated modules and coatings for weather resistance.
- Factor in lighting conditions—strong sunlight may require ultra-bright displays.
Cable routing should be planned with maintenance in mind. Use conduits and clearly label both power and data cables.
3. Setting Up the LED Control System
3.1 Use the Right Software
Systems like NovaLCT, Colorlight LEDVision, and Brompton Tessera allow you to map screens, configure resolution, and control colors precisely. They also help monitor temperature and voltage across modules.
3.2 Create Display Zones
Divide your LED wall into regions to show different content—great for events or multi-section retail displays. This zoning can be managed via the control software.
3.3 Input Sources and Connectivity
Make sure you’ve chosen controllers that support your signal types—HDMI, SDI, DVI, or DisplayPort. Redundancy support is a must for mission-critical systems.
3.4 Monitor Performance Remotely
Many LED processors allow remote access. From any location, you can check screen health, update content, and adjust settings in real-time.
4. Image Quality and Calibration
4.1 Color Accuracy
Use colorimeters or built-in auto-calibration systems to ensure that all panels match in brightness and hue.
4.2 Brightness and Gamma
Adjust gamma settings for better contrast without losing detail in shadows or highlights. Use a light meter to test uniformity across the entire wall.
4.3 Grey Scale and White Balance
Fine-tuning white balance can make the difference between a professional-looking display and one that seems off-tone or washed out.
5. Content Management and Playback
5.1 Resolution and Format
Always match your content’s resolution to the physical LED wall. For example, if your wall is 1920×1080 pixels, provide content at 1080p resolution.
5.2 Playback Format
Use high-quality file formats such as MP4 (H.264/H.265), ProRes, or DNxHD. Compressed formats might reduce playback quality, especially on large walls.
5.3 Playlist Scheduling
Set up content playlists that automatically change based on time or event triggers. This is especially useful for digital signage or retail displays.
5.4 Real-Time Feeds
Dynamic data such as social media, weather, or stock prices can be integrated using HTML5 templates and API data feeds.
Testing and Troubleshooting
6. Testing and Troubleshooting
6.1 Run Diagnostic Patterns
Test solid colors, gradients, and motion graphics to catch dead pixels or calibration mismatches.
6.2 Handle Common Errors
- Color issues: Re-calibrate or replace faulty modules
- Signal drop: Check cable integrity and input redundancy
- Brightness uneven: Adjust individual module output via software
6.3 Heat and Power Load
Conduct stress tests. Simulate real usage for long hours to check temperature stability and power efficiency.
7. Maintenance Best Practices
- Clean panels gently with anti-static cloths.
- Run periodic calibration (every 3–6 months).
- Maintain backups of content and settings.
- Store spare parts (modules, power units) for emergency replacements.
8. Enhance Audience Engagement
- Add interactivity using touch overlays or sensors.
- Sync audio with visual content for immersive experiences.
- Use analytics tools to measure engagement and optimize content based on real-world performance.
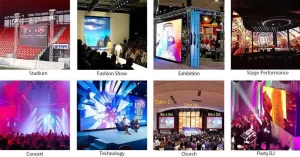
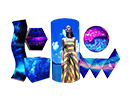
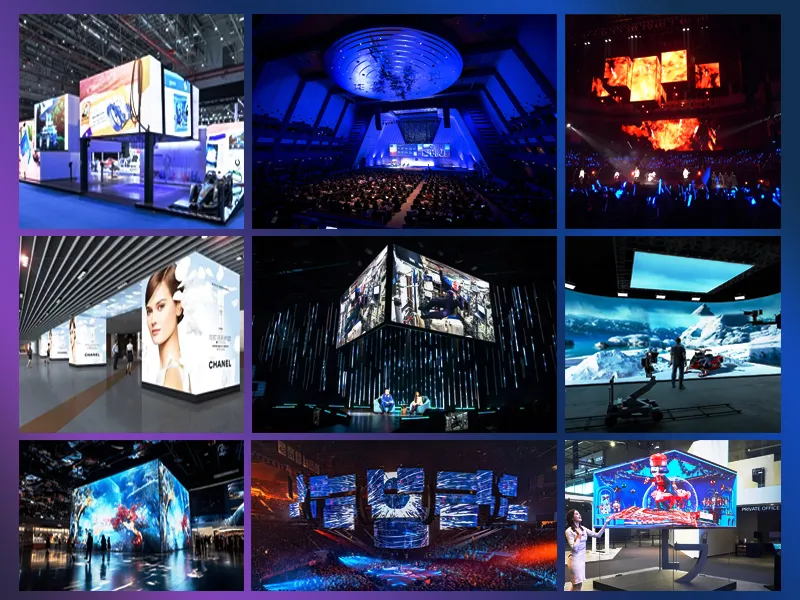
9. Real-World Applications
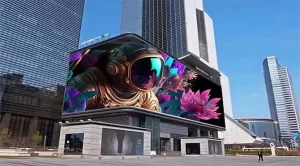
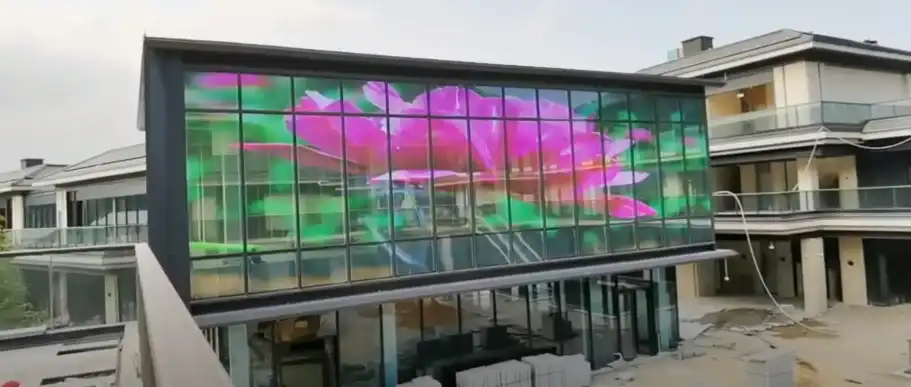
- Retail: High-brightness LED walls show products in motion
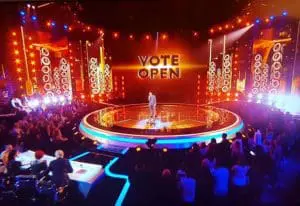
- Events: Dynamic backdrops synced with music or performance
- Broadcast: Real-time calibrated visuals with camera-friendly refresh rates
- Advertising: Outdoor LED billboards with 24/7 reliability
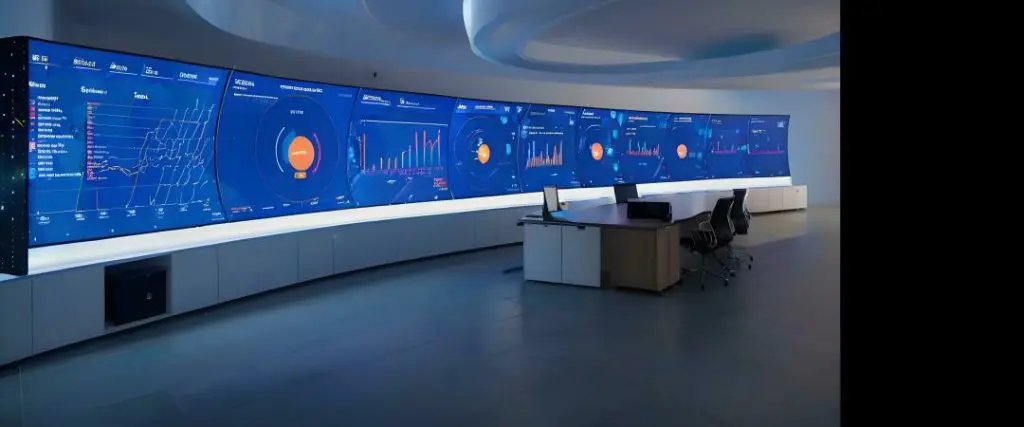
- Control Centers: Seamless video walls showing critical data
Frequently Asked Questions About Configuring an LED Wall
- What’s the first step when configuring an LED wall?
Begin by assessing the environment—whether it’s indoor or outdoor, how far viewers will be, and what brightness levels you’ll need. This helps determine the correct pixel pitch, module size, and control system.
- How do I connect multiple LED panels together?
Each LED module connects using flat ribbon cables for power and CAT6 or fiber for signal. These form a daisy-chained system that links all cabinets back to the controller.
- Do I need special software to run content on an LED wall?
Yes. LED walls require control software like NovaLCT or LEDVision to configure screen layout, resolution, calibration, and scheduling. These tools are essential for smooth operation.
- How often should I calibrate my LED wall?
Every 3–6 months for standard usage, and monthly for high-precision environments like studios or command centers. Regular calibration keeps color and brightness consistent.
- Can I use any video format on an LED wall?
Most modern LED walls support standard video formats like MP4, MOV, or AVI. However, using high-bitrate or uncompressed video ensures the best quality, especially on high-res displays.
Create a Wall That Works Hard and Looks Great
Configuring an LED wall is more than connecting screens—it’s about planning, precision, and performance. Whether you’re lighting up a storefront, creating an immersive stage design, or running a real-time data wall, the success lies in understanding how each element—from pixel pitch to controller software—works together.
With proper setup, regular maintenance, and engaging content strategies, your LED wall can become a powerful visual communication tool that elevates your brand, informs your audience, and truly stands out.