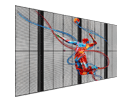
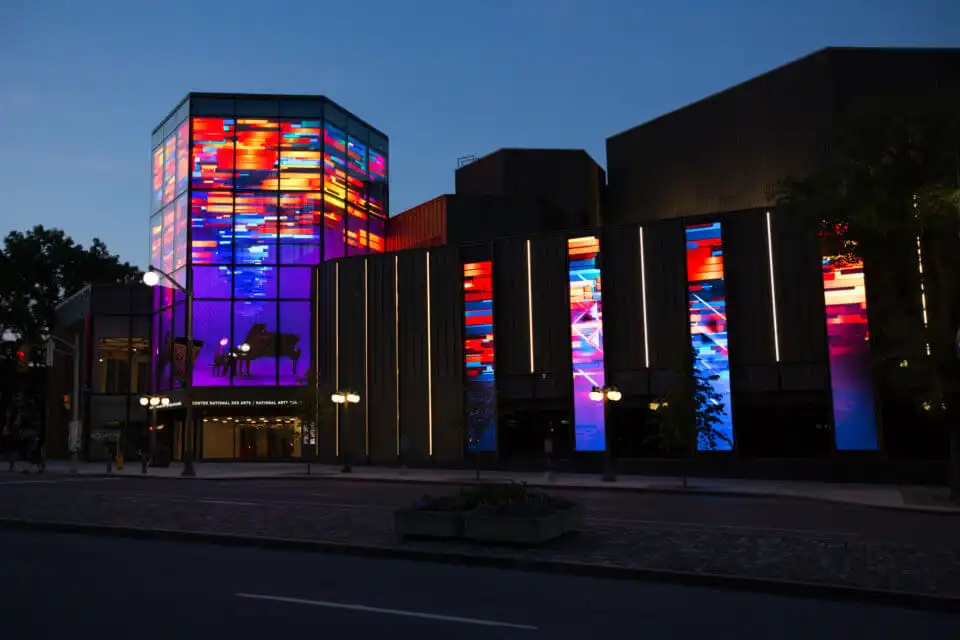
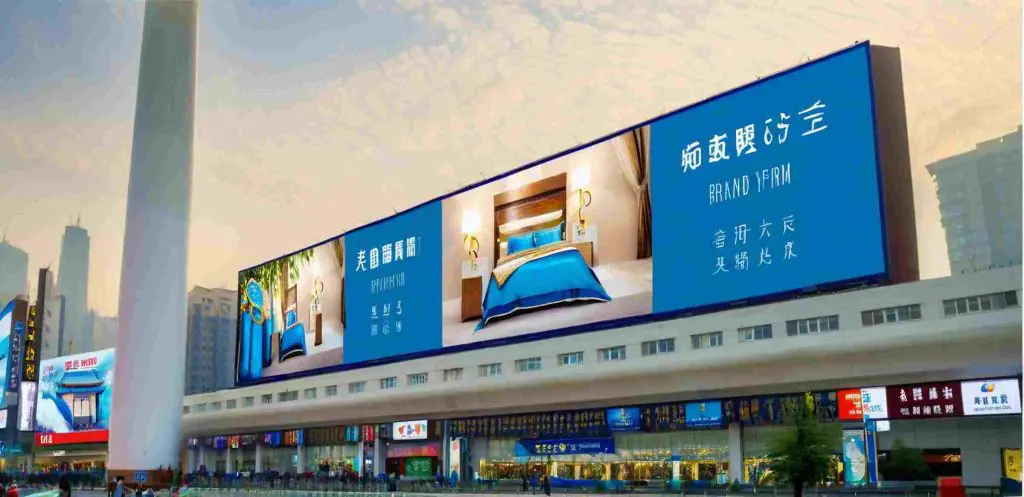
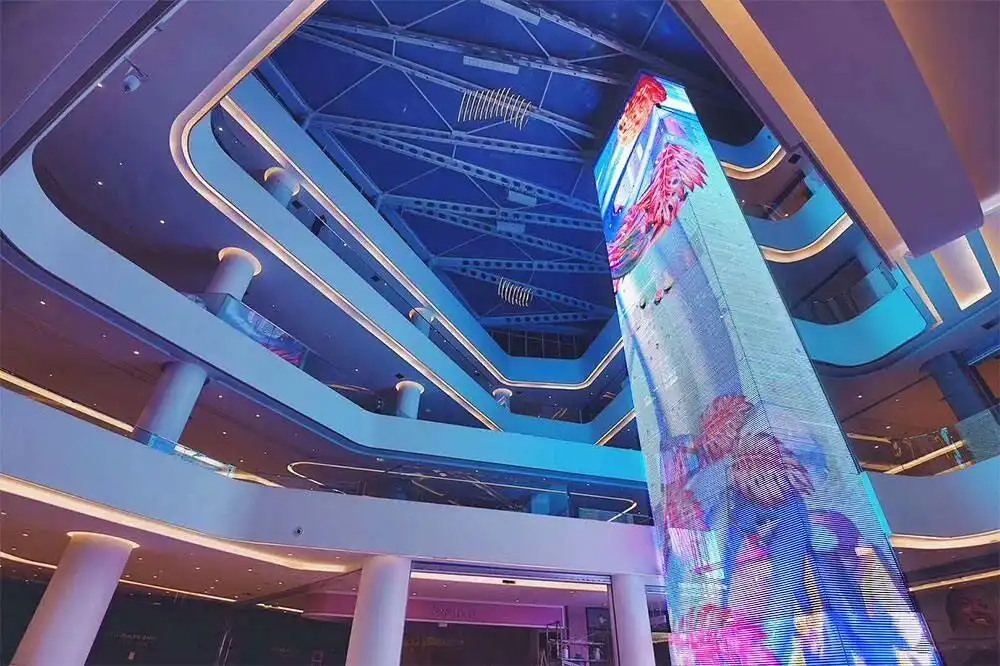
LED walls have become a staple in modern visual communications, transforming everything from concerts and retail spaces to corporate presentations and outdoor advertising. These dynamic displays captivate audiences with vibrant colors and massive scale, but many newcomers wonder — how exactly do you add content to an LED wall?
Whether you’re a business owner, event organizer, or tech enthusiast, understanding the process of loading and managing content on LED video walls is key to maximizing their impact.
This guide walks you through everything you need to know about adding content to LED walls, from hardware requirements and software tools to best practices for optimal display quality.
What Is an LED Wall?
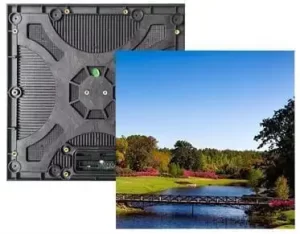
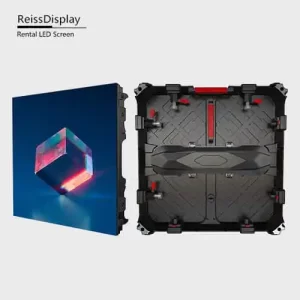
Before diving into content management, it helps to know what an LED wall is. Unlike traditional monitors or projectors, an LED wall is composed of multiple LED panels or modules that form one large display surface. Each module contains thousands of tiny LEDs that light up individually to create images and videos.
The modular nature allows LED walls to be scaled to virtually any size and resolution, making them popular for outdoor advertising, concerts, trade shows, sports arenas, and more.
The Basics of Adding Content to an LED Wall
Adding content to an LED wall generally involves two main components:
- Content Source: This is the device or software that holds the media files you want to display — such as images, videos, live feeds, or animations.
- LED Controller: This hardware or software unit processes the content and sends signals to the LED panels, telling each pixel what color and brightness to display.
The process of adding content typically follows this flow:
- Prepare or create your content on a computer or media server.
- Upload or connect the content to the LED controller system.
- Configure the controller to map and display the content correctly across the LED panels.
- Adjust settings like brightness, refresh rate, and timing to ensure smooth playback.
Step 1: Preparing Your Content
Content preparation is a crucial step to ensure your visuals look sharp and vibrant on the LED wall. Here are some tips:
- Resolution Matters: Create or resize content to match the LED wall’s native resolution. Remember, LED walls usually have custom resolutions based on their pixel pitch and size. Uploading low-resolution content to a high-res LED wall will result in pixelation.
- Aspect Ratio: Check the aspect ratio of your LED wall (e.g., 16:9, 4:3) and design content accordingly to avoid stretching or black bars.
- File Formats: Most LED control systems support common image and video formats such as JPEG, PNG, MP4, AVI, and MOV. Use widely compatible formats to avoid playback issues.
- Brightness and Contrast: LED walls are typically very bright, so use vibrant colors and high contrast to make your content pop, especially for outdoor or well-lit indoor locations.
Step 2: Choosing the Right Hardware
To add content to an LED wall, you need the right hardware setup. Here are the key components:
- Media Player / PC: This device stores your content and sends it to the LED controller. It can be a dedicated media player, a laptop, or a specialized server.
- LED Controller: This is the brain that translates content signals into instructions for the LED modules. It may be a standalone hardware device or software running on a PC.
- Cables and Network: High-quality HDMI, DVI, or DisplayPort cables are commonly used to connect media players to controllers. For larger setups, Ethernet or fiber optic networks handle data transmission efficiently.
Step 3: Using LED Control Software
Most modern LED walls rely on specialized control software that simplifies the process of adding and managing content. Popular options include NovaStar, Brompton, and Colorlight control suites.
With the control software, you can:
- Import content files and create playlists or schedules.
- Adjust screen layout and map content across multiple LED panels.
- Preview content before pushing it live.
- Manage multiple zones or split screens for displaying different content simultaneously.
These programs often come with intuitive drag-and-drop interfaces, making it accessible even for beginners.
Step 4: Uploading and Mapping Content
Once your content is ready and your hardware is connected, it’s time to upload and map the content:
- Connect your media player or PC to the LED controller.
- Open the control software and upload your content files.
- Define the display area or zones where each piece of content will appear.
- Align the content to match the LED wall’s physical configuration — this may involve calibration tools to correct for panel gaps or irregular shapes.
Accurate mapping ensures the image is seamless and correctly proportioned across the entire screen.
Step 5: Adjusting Playback Settings
Smooth playback on an LED wall depends on tuning several settings:
- Refresh Rate: LED walls usually operate at refresh rates between 1920Hz and 3840Hz or higher to avoid flickering. Your control system should allow adjustment to match the content and environment.
- Brightness: Adjust brightness to suit ambient lighting — too bright indoors can cause glare, too dim outdoors reduces visibility.
- Color Calibration: Calibrate colors so images are consistent across all panels, preventing mismatched hues or brightness.
- Transition Effects: If playing playlists or multiple content pieces, configure smooth transitions or effects for a professional look.
Advanced Content Options
Besides static images and videos, LED walls support a range of advanced content types:
- Live Video Feeds: Integrate live streams from cameras, sports events, or social media feeds.
- Interactive Content: Use sensors or touch overlays to create interactive experiences.
- Real-Time Data: Display dynamic data such as stock prices, news tickers, or weather updates.
- 3D Mapping and Effects: Advanced setups enable 3D content projection mapped precisely to the LED structure.
These features expand creative possibilities and audience engagement.
Tips for Successful Content Management on LED Walls
- Test Before Going Live: Always preview content on the LED wall before events to catch any issues.
- Keep Content Simple and Bold: Complex visuals may not translate well on LED walls, especially at large sizes.
- Regularly Update Content: Fresh content keeps audiences engaged and maximizes the LED wall’s value.
- Use Professional Help if Needed: Setting up complex LED wall content can be challenging; professional integrators can assist.
Troubleshooting Common Issues
- Content Not Displaying: Check connections between media player, controller, and LED panels. Verify content format compatibility.
- Pixelation or Blurriness: Make sure content resolution matches the LED wall’s native resolution.
- Color Inconsistency: Perform color calibration and ensure panels have matching specifications.
- Flickering: Adjust refresh rate or replace low-quality cables.
How Much Does an LED Wall Cost?
LED walls come in many shapes, sizes, and resolutions, and so do their prices. The total cost can vary depending on the pixel pitch, total size, indoor or outdoor use, and brightness requirements.
Here’s a quick breakdown to give you a general idea:
| LED Wall Type | Pixel Pitch (mm) | Suggested Size (W×H, m) | Approximate Resolution | Price Range (USD per m²) | Best For |
| Entry-Level Indoor | 3.9 – 5.0 | 3×2 to 5×3 | ~768×512 to 1280×720 | $800 – $1,200 | Retail stores, churches, cafes |
| Fine-Pitch Indoor | 1.2 – 2.5 | 3×2 to 6×4 | 1080p to 4K+ | $2,000 – $5,000 | Boardrooms, control centers |
| Ultra-Fine Pitch | 0.9 – 1.2 | 4×2.5 to 6×3.5 | 4K+ | $6,000 – $10,000+ | Studios, luxury venues, exhibitions |
| Outdoor Standard | 6.0 – 10.0 | 6×4 to 10×6 | ~960×640 to 1600×960 | $600 – $1,200 | Billboards, public squares |
| High-Brightness Outdoor | 4.0 – 6.0 | 8×5 to 12×7 | ~1920×1080 or higher | $1,500 – $3,000 | Stadiums, concerts, large events |
What affects the price:
- Pixel pitch: Smaller pitch = more LEDs = higher resolution = higher cost.
- Brightness & durability: Outdoor models need to be weatherproof and bright enough to handle daylight, which adds cost.
- Installation & structure: Wall mounting, curved layouts, or mobile staging all increase setup complexity and price.
- Content type and usage frequency: Displays meant for 24/7 use or interactive content may require higher-grade hardware.
Keep in mind, this is just the hardware cost of the LED wall. You’ll also need to consider media players, control systems, content software, and installation labor when planning your total budget.
Frequently Asked Questions About Adding Content to an LED Wall
- Can I use a regular laptop to add content to an LED wall?
Yes, for many basic setups, a standard laptop with HDMI or DisplayPort output can serve as the content source. Just make sure your laptop supports the resolution of the LED wall and is connected to a compatible LED controller.
- What file formats can be displayed on an LED wall?
Most LED control systems support common formats like MP4, AVI, JPEG, PNG, and MOV. It’s always a good idea to check your specific controller’s documentation to ensure compatibility.
- Do I need internet access to run content on an LED wall?
Not necessarily. You can preload content onto a media player or USB drive and run it offline. However, for live streaming, remote updates, or dynamic content, an internet connection may be required.
- How do I make sure the content fits the screen properly?
Create your content based on the LED wall’s exact pixel resolution and aspect ratio. Most control software will also let you crop, scale, or position the content to fit if needed.
- Can I display multiple types of content at the same time?
Yes, many advanced LED control systems allow you to divide the screen into zones — for example, showing a video in one area, a logo in another, and a ticker at the bottom. This is often managed through scheduling and content layout tools in the software.
Adding content to an LED wall might seem intimidating at first, but with the right preparation and tools, it becomes a straightforward and rewarding process. The key is understanding the hardware, software, and creative considerations involved.
Whether you’re showcasing a corporate presentation, running an advertising campaign, or creating an immersive live event experience, mastering content management on LED walls unlocks their full potential.
With practice and the right support, your LED wall will captivate audiences with stunning visuals — every time.