
How to Fix LED Wall If It Is Broken
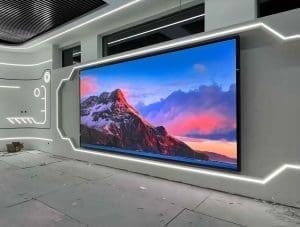
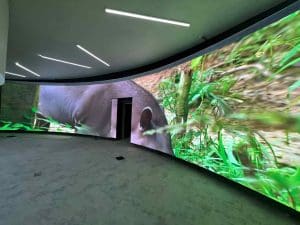
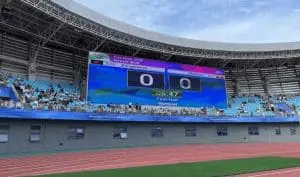
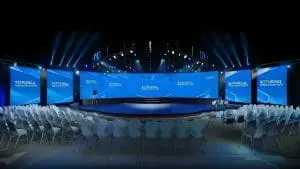
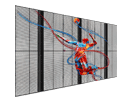
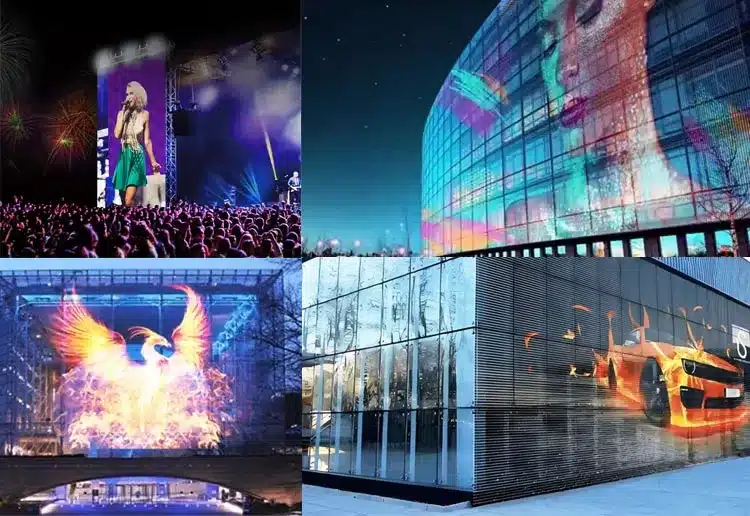
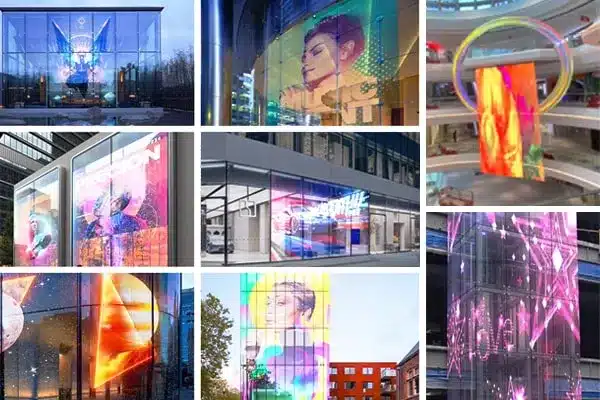
LED walls have become the visual centerpiece for concerts, retail spaces, stadiums, control rooms, and digital signage across the world. Their vibrant colors, seamless scalability, and long lifespan make them a favorite for both indoor and outdoor display needs.
But like any electronic system, LED walls are not immune to failure. Whether it’s a flickering section, dead pixels, connection issues, or even complete blackout, knowing how to fix an LED wall when it breaks can save time, money, and frustration.
Let’s walk through the most common LED wall issues, what typically causes them, how to troubleshoot effectively, and what steps you can take to repair or restore performance — whether you’re managing a permanent installation or running a temporary event.
What Can Go Wrong with an LED Wall?
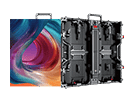
An LED wall is a complex system made up of thousands — or millions — of tiny light-emitting diodes (LEDs) arranged across modular panels. These panels are wired together and connected to a control system, power supplies, and sometimes media servers or signal converters.
Because of this complexity, issues can arise from several components, including:
- The LED modules themselves (the small pixel blocks)
- The power supply units (PSUs)
- The control cards or receiving cards
- The data cables or signal connections
- The video processor or media player
Let’s take a deeper look at the most frequent failure types and how to fix them.

Common Problems and How to Fix Them
-
Dead or Dimmed Pixels
Symptoms:
- A few pixels don’t light up
- Some LEDs show incorrect colors
- Tiny dark spots on the screen
Causes:
- Damaged individual LEDs
- Faulty soldering
- Moisture ingress or age-related failure
Fix:
- Identify the specific module or group of pixels affected
- Replace the entire LED module (this is usually easier and faster than repairing individual LEDs)
- If under warranty, contact the supplier for replacement modules
- For fine-pitch LED walls, use specialized tools for safe removal and replacement
-
Flickering Panels or Horizontal Lines
Symptoms:
- Horizontal or vertical flickering across part of the wall
- Intermittent display loss in a section
- Rolling lines or color distortion
Causes:
- Loose data cable connections
- Bad signal transmission
- Faulty receiving card or poor grounding
Fix:
- Power down the wall and check all flat ribbon cables and data cables between modules
- Reseat or replace suspect cables
- Try swapping the receiving card with another to isolate if it’s the source
- Inspect for grounding issues if interference is suspected
-
Completely Black Module or Section
Symptoms:
- One module or full panel won’t turn on at all
- Part of the screen is blank despite others working
Causes:
- Power supply failure
- Burnt-out components on the power board
- Overheating or moisture damage
Fix:
- Use a multimeter to test the power output to the affected area
- Replace the PSU if it’s not delivering voltage
- Ensure ventilation fans are operational if inside a cabinet
- For outdoor displays, check seals for water ingress
-
Full Wall Not Responding
Symptoms:
- Entire screen is black or stuck on one image
- No signal, even though content is playing on the source
Causes:
- Failed sending card
- Disconnected video processor or media player
- Corrupted firmware or configuration file
Fix:
- Check power to the video processor and sending card
- Try rebooting the system
- Verify that the source (PC, server, or USB player) is sending the correct resolution and signal type
- Restore firmware from backup if available
-
Color Mismatch or Ghosting
Symptoms:
- Color differences between modules
- Image trails or ghost effects
- Poor contrast or grayscale
Causes:
- Misconfigured calibration files
- Aged or mismatched modules
- Incorrect brightness or gamma settings
Fix:
- Recalibrate the display using the manufacturer’s software
- Replace aged modules with matching batch types
- Adjust brightness and color balance across zones
- For critical color applications, professional colorimeter tools may be needed
Step-by-Step Troubleshooting Process
If your LED wall stops working or shows abnormal behavior, here’s a general process to follow:
- Turn Off Power Safely
Always start with powering down the entire wall to avoid further damage or injury during inspection. - Visually Inspect the Surface
Look for burned spots, disconnected cables, water stains, or panel misalignment. - Check Cables and Connectors
Securely reconnect all power, signal, and data cables. Replace any damaged ones. - Test Modules Individually
Many LED systems allow for testing modules independently. Swap modules or cards between zones to isolate the issue. - Check Power Supply Outputs
Use a multimeter to ensure all PSUs are delivering expected voltages (often 5V or 3.3V for modules). - Examine the Control System
Confirm that the controller or sending card is recognized and communicating properly with the software. - Reload Configuration Files
If misconfiguration is suspected, restore the LED wall layout and calibration profiles via the software. - Contact Technical Support
If issues persist, reach out to your supplier’s support team with photos, error messages, and module serial numbers.
When to Repair and When to Replace
Not all LED wall issues require a full panel or system replacement. Here are some quick rules of thumb:
- Replace modules if they have dead pixels, flickering, or water damage.
- Repair or replace power supplies if one area consistently fails or overheats.
- Update software if display problems are caused by syncing or resolution issues.
- Replace the whole section or panel if it’s severely damaged or beyond economical repair.
For long-term installations, always keep a stock of spare modules and key components for fast repairs.
Preventive Maintenance Tips
Keeping an LED wall running smoothly over the years is as much about prevention as it is about fixing problems. Here’s how to reduce the likelihood of future breakdowns:
- Schedule regular cleanings to remove dust, moisture, or debris buildup
- Check ventilation fans and internal temperatures, especially in enclosed cabinets
- Update firmware and control software to fix bugs and improve stability
- Inspect cabling for wear, especially in outdoor or high-vibration environments
- Monitor power consumption to detect early signs of failing PSUs
For outdoor LED walls, it’s also important to reseal joints, inspect for corrosion, and test after heavy rain or snow.
Why Manufacturer Support Matters
One of the most critical factors in successfully repairing an LED wall is having access to responsive and knowledgeable manufacturer support.
When purchasing from a reliable supplier — such as our brand — you get:
- Detailed documentation and wiring diagrams
- Easy-to-replace module designs
- Firmware updates and calibration profiles
- Fast shipping of replacement parts
- Dedicated support engineers to walk you through issues
Not all suppliers provide long-term technical assistance, especially for budget or no-name brands. That’s why working with a partner who offers strong after-sales support can save you thousands in downtime and replacement costs.
Frequently Asked Questions About Fixing LED Walls
- Can I repair LED wall modules myself, or do I need a technician?
If you’re familiar with basic electronics and the modules are front-serviceable, you can often replace them yourself. For complex issues or warranty coverage, it’s best to involve trained technicians. - What tools are required for LED wall repairs?
You’ll need a multimeter, module removal tool, replacement modules/cards, and sometimes software provided by the LED wall manufacturer. - Is it safe to continue using an LED wall with a few dead pixels?
Yes, but it’s not ideal. A few dead pixels won’t cause system failure, but they can affect image quality, especially in high-precision environments like TV studios or retail displays. - What if the same section keeps failing after repair?
Repeated failure in one area often points to a deeper problem — like an overheating PSU, grounding issue, or design flaw. Inspect thoroughly or consult your supplier. - How long do LED wall components typically last?
With proper care, LED modules can last 80,000–100,000 hours. Power supplies and controllers may require replacement every 3–5 years depending on usage and environmental conditions.
Fixing an LED wall might seem intimidating, but most issues can be resolved by following a logical approach: inspect, isolate, replace, and test. From dead pixels and flickering sections to controller or PSU failures, understanding the components behind your display helps you act quickly and confidently when something goes wrong.
With the right support, a few spare parts, and a basic toolkit, you can extend the life of your LED wall and maintain stunning visual performance for years to come.
If you’re working with our systems and ever need help, our team is always here to guide you — from troubleshooting to full repair planning. Because a bright, reliable display shouldn’t be a mystery — it should just work.